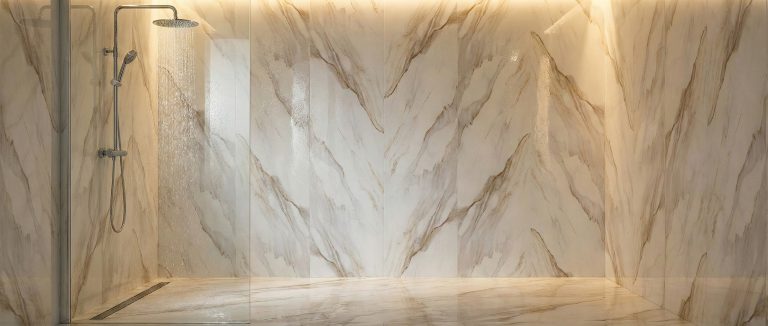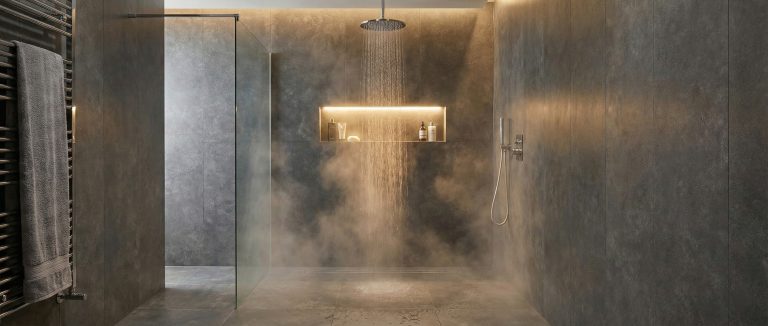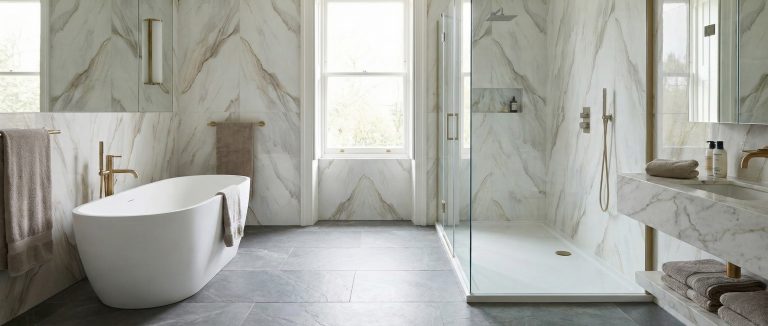
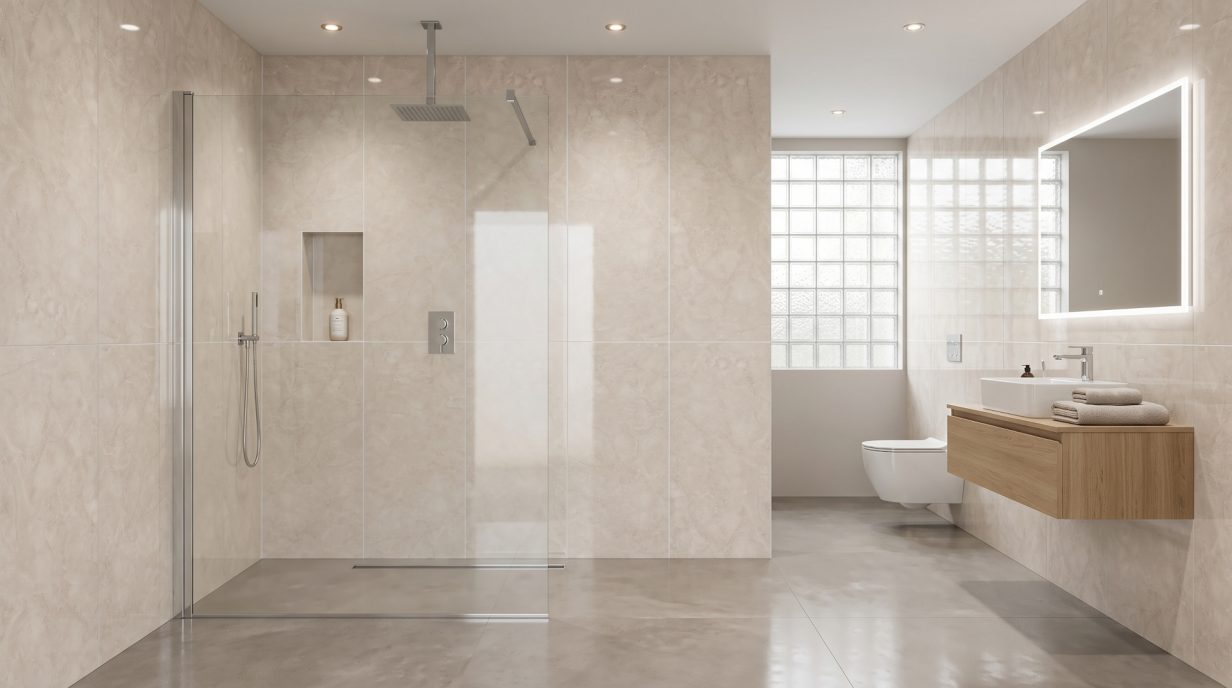
Most people notice the shower first when they walk into a tired bathroom. Not the bath, not the suite, the grout. Black spots in the corners, a tide mark around the tray, that faint musty smell that lingers even after a deep clean. A bathroom with shower panels from Pro-Tek™ is designed to make that a thing of the past.
If you are weighing up tiles against panels for your wet areas, this guide walks you through what SPC panels actually do in a shower, which collections suit bathrooms best, how to plan and fit them, what they cost in comparison to tiles, and the questions buyers ask us most. By the end you should know whether a bathroom with shower panels is the right move for your home, and which collection to shortlist.
Jump to section
- Why a Bathroom with Shower Panels Beats Tiles in 2026
- What Makes SPC the Right Material for a Shower Panel
- Picking the Right Style for Your Bathroom with Shower Panels
- Planning a Bathroom with Shower Panels: Measure Twice, Cut Once
- How to Fit a Shower Panel the Right Way
- Shower Panel Cost: How It Stacks Up Against Tiles
- Common Questions About Bathrooms with Shower Panels
- See Your Bathroom with Shower Panels in Action
Why a Bathroom with Shower Panels Beats Tiles in 2026
A few things have changed since the days of white ceramic tiles and sanded grout as the default shower finish. Materials and production have come on a long way in the last few years through our research and development of our SPC Wall panels we are now proud to offer a product that will solve all the dilemmas of what to do in your home.
Here is the short version of why a bathroom with shower panels is the go to choice and why more and more people are going down this route rather than tiling:
- Speed. Pro-Tek™ panels arrive at full 2800mm height, so a standard UK shower wall is covered in single pieces. No midway rows, no balancing half tiles around a shower head.
- Hygiene. No grout means no place for soap scum and body oils to lodge. A wipe with a damp cloth is genuinely all you need.
- Waterproofing. Showers throw a lot of water at the walls. A 100% waterproof SPC core handles it without swelling, delaminating or feeding the mould that loves a damp bathroom.
- Anti-fungal protection. Every panel has a built-in anti-fungal layer, so you are not relying on grout sealant to keep mildew at bay.
- Realistic looks. Because of our Authentic Grout line Technology the double and multi tile options both look and feel like a real tiled wall.
The key is preparation. Panels are rigid, they need a flat wall, and they will not stick over old tiles. It is important to make sure the area is dry and ready for the panels to be installed.
What Makes SPC the Right Material for a Shower Panel
SPC stands for Stone-Plastic Composite. It is a dense core made from limestone powder combined with stabilisers and PVC resins, pressed under high pressure into a rigid board. That is the short version. The longer version matters if you are choosing between brands in a bathroom with shower panels.
Most hollow PVC panels you will see in bathroom showrooms are thin, hollow shells. They flex when you push them. You are unable to drill through them and attach fixtures and fittings because the panels will crack the print looks unrealistic and fake, and they do not handle heat or impact well.
SPC is the opposite. The core is solid and rigid, the surface layer is a printed décor sheet protected by a tough wear layer, and the whole panel is either 4mm or 4.5mm thick depending on the range that you select.
For a shower panel, that rigidity matters more than you would think:
- Stability. A solid core means a more stable product. It is easier to fit and cut. There is no worry of it cracking or snapping when installing or moving.
- Strength. You can fix a shower shelf or grab rail through the panel into the wall behind, something most hollow plastic panels cannot support.
Pro-Tek™’s panels are independently tested for waterproofness, VOC emissions, reaction to fire, colour fastness and thermal performance, with the certificates published on the Wall Panel Test Results page if you want the paperwork. For peace of mind in a wet room, that testing matters more than any brochure claim.
Picking the Right Style for Your Bathroom with Shower Panels
Pro-Tek™’s SPC range splits into the Plain, Double Tile and Multi Tile collections, all sharing a 2800mm x 600mm format. Each one has a completely different finish creating a different look wherever they are installed.
Double Tile Collection: large-format slabs
The Double Tile Wall Panels feature Pro-Tek™’s Authentic Grout Line Technology, milled directly into the panel. Each panel replicates as a 1400mm x 600mm once installed, which is great if you want a clean more European look. At 4.5mm thick, they feel substantial, and the milled grout lines are non-porous so they will not discolour or grow mould, even in a steamy shower.
Best for:
- Walk-in wet rooms and large enclosures where the slab look reads as architecture.
- Master bathrooms where a luxury hotel feel is the goal.
- Anyone who likes the look of large porcelain slabs but not the cost or weight.
Multi Tile Collection: classic metro and brick layouts
The Multi Tile Wall Panels replicate a 300mm x 600mm tile size, the size used in most British homes for decades. You get the symmetry of a tiled wall with none of the real grout. Like the Double Tile range, the grout lines are physically milled into the surface, so they read as real joints but never crumble or grow mould. One Panel if installed at its full length is designed to replicate 9 tiles.
Best for:
- Traditional bathrooms with a classic metro or brick pattern.
- Small ensuites where a structured grid adds interest without busy patterning.
- Period properties where the tile feel needs to match the era.
Plain Collection: the minimalist choice
The Plain Wall Panels give you a seamless, grout-free surface that suits contemporary bathrooms beautifully. They come in beige, grey and high-gloss marble sub-collections, 24 shades in total.
Best for:
- Modern minimalist bathrooms with a calm, uninterrupted finish.
- Wet rooms where the brief is to keep the eye on the brassware and fittings.
- Anyone who wants the easiest possible wipe-down after every shower.
If you are weighing the three ranges side by side, the Choosing Your Pro-Tek Style page goes into more detail on each one.
Planning a Bathroom with Shower Panels: Measure Twice, Cut Once
The biggest mistake people make is rushing the planning. Panels are big, and you want the joins to land in sensible places, not in the middle of a feature wall or right next to a shower head.
Here is how to plan a bathroom with shower panels properly:
- Measure your walls in metres, width and height. Note any alcoves, niches or boxed-in pipework that need extra panels.
- Confirm the wall height is below 2800mm. Pro-Tek™’s standard panel height covers a typical UK ceiling in a single piece, with no horizontal joins.
- Plan the layout so any vertical joins land in corners or behind the shower head, not in the middle of the most visible wall.
- Mark up plumbing positions for the shower head, valve, handset and any body jets before you order, so you can plan your cut-outs.
- Order up to three free samples first from the Free Wall Panel Samples page and hold them in the actual bathroom in daylight and evening light before committing.
If you want to see how the layout will look before committing, the Room Visualiser lets you upload a photo of your bathroom or pick a sample scene and try different collections and colours side by side.
How to Fit a Shower Panel the Right Way
A bathroom with shower panels is one of the quicker wet trades to get right, but the prep matters as much as the actual fitting. Panels will not hide a wavy wall, and they cannot stick over old tiles.
Before you order or cut
- The wall must be structurally sound, dry, clean and flat to within 2mm over a 2-metre span.
- Wall moisture content must be no higher than 8 percent.
- Room temperature should sit between 15 and 25 degrees Celsius before, during and after fitting.
- Old tiles must be removed. This is non-negotiable. Stripping the tiles will likely damage the wall behind, so you will need to repair or refinish it to make it flat and stable again. We recommend using a professional for this bit.
- Acclimatise the panels flat in the room for at least 24 hours before you start.
Tools you will need
- Tape measure, pencil, spirit level, straight edge
- Utility knife or fine-tooth circular saw
- Hole saw for plumbing cut-outs
- Construction-grade grab adhesive, such as Stixall
- Waterproof silicone for sealing
- Rubber mallet
- A second pair of hands
The install, step by step
- Plan your layout so any vertical joins land in corners or behind fittings.
- Cut the panels to height using a fine-tooth circular saw or score-and-snap with a utility knife.
- Drill any plumbing holes from the back of the panel to avoid chipping the decorative face.
- Apply four even beads of adhesive down the back of the panel, plus smaller dots between them for grip.
- Press the panel to the wall, tap flat with a rubber mallet from top to bottom.
- Fit the next panel at a 35-degree angle to engage the tongue-and-groove edge, then press flat.
- Leave a 4mm expansion gap at the top and bottom of every panel.
- Seal the expansion gaps and any plumbing cut-outs with waterproof silicone.
- Wait 24 hours before using the shower, and around 7 days for the adhesive to fully cure.
The full breakdown, including diagrams and a downloadable PDF, is on the Wall Panel Installation Guide page.
Shower Panel Cost: How It Stacks Up Against Tiles
Nobody publishes a national average for shower tiling in 2026, but the consensus among trade bodies is that labour typically makes up 50 to 65 percent of a tile install. For a standard enclosure, fitting alone can easily run into the high hundreds or low thousands once you include adhesive, grout, trims, tanking, and waste removal.
A bathroom with shower panels changes that split in your favour:
- Materials. Pro-Tek™ shower panels start from around £65.98 per panel for Plain, with Double Tile and Multi Tile from £71.98 and £77.98 per panel. Most enclosures need three or four panels plus a couple of corner and end trims and a tube or two of Stixall construction adhesive.
- Labour. A competent tradesperson or a confident DIYer with a helper can finish a typical shower area in a day. There is no waiting for adhesive to cure before grouting, no second-day grouting, no tanking the day after that.
- Lifetime. Pro-Tek™ panels come with a lifetime residential warranty, so a single bathroom refit should outlive most tile installs, where grout typically needs refreshing every five to ten years in a wet area.
The honest summary: a bathroom with shower panels costs roughly the same in materials as a mid-range tile install, with significantly less labour, and it stays looking new for far longer. Pull the latest prices from the live product pages when you are ready to budget for real.
Common Questions About Bathrooms with Shower Panels
Are SPC shower panels truly waterproof? Yes. The SPC core is 100% waterproof, the surface is non-porous, and the tongue-and-groove joint keeps water out. As long as you silicone the expansion gaps and plumbing cut-outs, the wet zone is fully sealed.
Can I install shower panels over existing tiles? No. The adhesive needs to bond to the structural wall, and old tiles create an unstable substrate that will eventually fail. Strip the tiles first, repair and re-level any damage underneath, then fit the panels.
How do I cut holes for the shower head and valve? Use a hole saw of the correct diameter and drill from the back of the panel to avoid chipping the decorative face. Masking tape on the front face also helps prevent splintering.
What warranty do Pro-Tek™ shower panels come with? Lifetime residential and 30 years for commercial installs. The warranty is valid as long as the installation follows the official guide.
How do I clean shower panels? A soft cloth with warm water and a mild, non-abrasive cleaner is all you need. Avoid scouring pads, bleach and solvent-based cleaners, which will dull the wear layer. The full routine is on the Cleaning and Maintenance Guide page.
Can shower panels run full ceiling height? Yes. Every Pro-Tek™ panel is 2800mm tall, which covers a standard UK ceiling in a single piece with no horizontal join. Leave a 4mm expansion gap at the top and bottom, and seal with silicone.
See Your Bathroom with Shower Panels in Action
Picking a colour from a small swatch is hard, and a 600mm x 2800mm panel in your actual bathroom tells a different story than a 100mm square sample. Use the Room Visualiser to upload a photo of your space or pick a sample bathroom scene and try different collections side by side.
When you have narrowed it down to two or three favourites, order up to three free samples to feel the surface finish and the weight of the panel in the hand. Samples usually arrive within two to three working days and are delivered free.
If you are a trade buyer, the full pattern book and trade pricing are available through the Trade Discount page, with a refund against your first order. You can also visit an authorised supplier to see the panels in the flesh, including One Step Beyond Flooring in Paignton, Jordan’s Wood Flooring in Wimbledon and Flooring Factory Outlet in Croydon.
A bathroom with shower panels is one of those upgrades that quietly outperforms expectations. The fit is fast, the wipe-down is quick, and ten years in, the grout lines still look the same as the day they went up. That is the whole point.