Choosing the right quantity of wall panels is one of the most important steps when planning a bathroom, shower room, kitchen, utility room, or commercial renovation. Ordering too few panels can bring your project to a halt mid-installation, leading to frustrating delays, while ordering too many leads to unnecessary expense and wasted material.
Using a reliable wall panel calculator method makes your room renovation simple by taking the guesswork out of the estimation process. Whether you are a homeowner tackling a weekend DIY wall panelling project or a professional tradesperson managing multiple commercial sites, getting your wall measurements right from the start ensures a smooth, cost-effective, and stress-free installation.
One of the standout benefits of Pro-Tek wall panels is their generous sizing. Measuring 600mm wide by 2800mm long, these are the tallest waterproof wall panels available in the UK. This unique height is ideal for modern UK homes with higher ceilings, allowing you to achieve a clean, premium finish with far fewer joints than traditional alternatives.
Jump to section
- Why Use a Wall Panel Calculator?
- Understanding Pro-Tek Wall Panel Sizes
- Why 2800mm Panels Are a Major Advantage for UK Why 2800mm Height Suits UK Homes
- How to Measure Your Walls for Panelling
- Should You Allow for Installation Wastage?
- Why Accurate Calculations Save You Money
- Are Pro-Tek Panels Suitable for DIY Installation?
- Where Can Pro-Tek Wall Panels Be Installed?
- How the Calculator Helps Professional Installers
- Frequently Asked Questions
Why Use a Wall Panel Calculator?
Before purchasing your materials, you need to know exactly how much surface area you need to cover. A systematic calculation method converts the measurements of your room into the exact number of physical wall panels required for your project.
Planning your layout with an accurate calculation offers several distinct benefits:
- Accurate Material Estimates: Eliminate guesswork and buy only the exact number of panels you need.
- Reduced Waste: Minimise off-cuts and leftover materials that would otherwise end up in the skip.
- Better Budget Control: Know your exact material costs before you commit to ordering.
- Smoother Ordering Process: Buy your waterproof wall panels, finishing trims, and grab adhesives all in one single transaction.
- Faster Installation: Spend less time working out measurements and panel layouts on-site and more time fitting.
- No Batch Variation Risks: Ordering everything at once prevents the risk of buying extra panels later that might come from a different manufacturing colour batch.
Whether you are waterproofing a compact corner shower enclosure or fully cladding a spacious family bathroom, calculating your materials carefully from the start saves both time and money.
Understanding Pro-Tek Wall Panel Sizes
To calculate your materials accurately, you first need to know the dimensions of the boards you are working with. Each individual Pro-Tek wall panel features the following measurements:
- Width: 600mm (0.6 metres)
- Length: 2800mm (2.8 metres)
Because every single panel has a height of 2800mm, most standard UK rooms can be covered from floor to ceiling using a single vertical board. This removes the need for horizontal joints, which are common when using shorter wall panels.
Fewer joins across your walls deliver practical advantages:
- A Cleaner Finish: Create a continuous, smooth surface without gaps or horizontal seams.
- Better Waterproof Performance: Fewer seams mean fewer potential weak points where moisture could get behind the cladding.
- Faster Installation Times: Simply trim the panel to your ceiling height and fix it directly to the wall without stacking pieces vertically.
- Effortless Cleaning: You do not need to spend time scrubbing dirty grout lines or awkward joins.
The 600mm width also means you need fewer individual boards to cover a wall compared to narrow 250mm cladding alternatives, resulting in a much simpler and faster installation.
Why 2800mm Panels Are a Major Advantage for UK Why 2800mm Height Suits UK Homes
Many alternative wall panelling systems sold in the UK measure around 2400mm (2.4 metres) in height. While this works for some properties, many new builds, older period renovations, and commercial buildings have ceilings that exceed this limit.
When wall panels are too short, you have to join two pieces together horizontally to reach the ceiling. This creates a visible seam across your wall and adds a potential weak point where water could get behind the cladding. Pro-Tek panels avoid this problem for most UK properties.
By using a single 2800mm board, you get:
- Floor-to-Ceiling Coverage: Full vertical coverage for rooms with higher ceilings without falling short.
- No Horizontal Joins: You do not need to use joint trims or extra silicone seams across the middle of your wall.
- A Continuous Finish: A smooth, uninterrupted surface from bottom to top that makes the room look taller.
- Less Waste: You do not have to buy extra boards just to cut off small sections to fill gaps near the ceiling.
This extra height makes the boards a practical choice for both newer builds with varying ceiling heights and older properties with traditionally tall rooms.
How to Measure Your Walls for Panelling
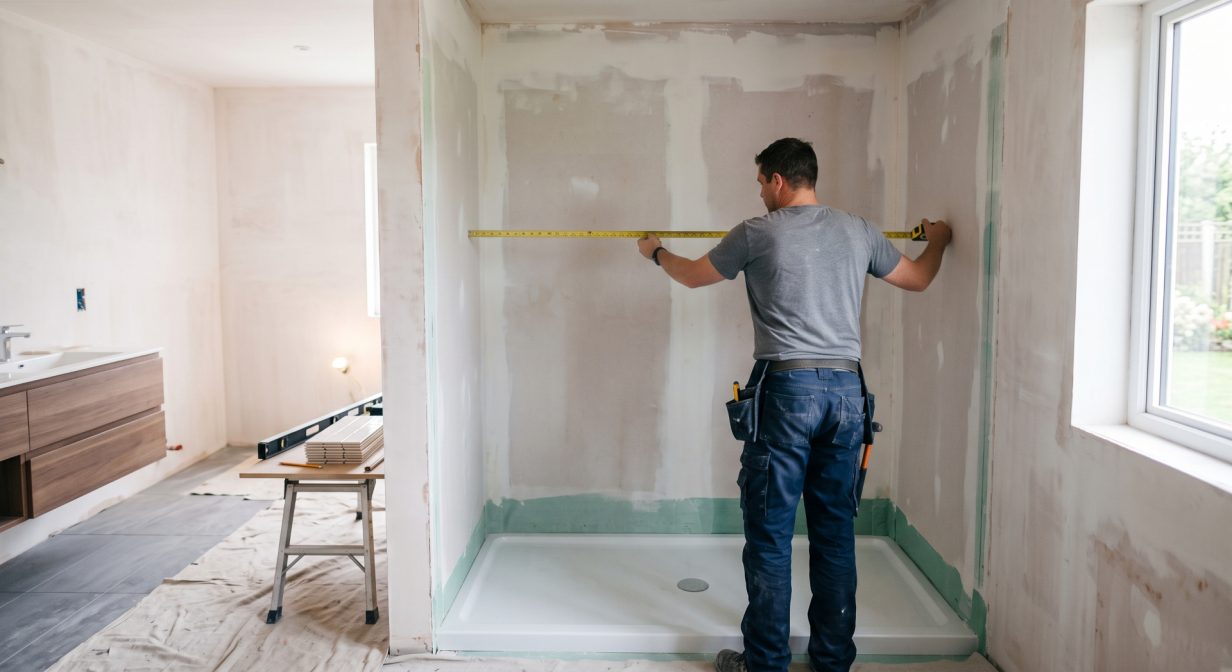
Accurate measurement is the foundation of a successful installation. For the best results, measure each wall individually rather than relying on general floor plans. Always take your measurements in millimetres (mm) to keep your calculations exact.
Step 1: Measure the Width
Measure the horizontal width of each wall from corner to corner. If you are panelling a wet area like a bathroom, measure at the top, middle, and bottom of the wall, as walls are rarely perfectly square. Use the widest measurement to make sure you buy enough material.
Step 2: Measure the Height
Measure from the floor (or the top of your shower tray or bath rim) to the ceiling. Make sure this measurement is under 2800mm. If your ceiling is lower than 2800mm, you will simply trim the extra material off the top of the panels during installation.
Step 3: Account for Openings
Note down the locations of doors, windows, and large fixtures. In most cases, it is safest to calculate the walls as if they are completely solid. This ensures you have enough continuous panels to cut around these features cleanly without running short.
Simple Wall Panel Calculation Example
To show how the process works, let’s look at a typical three-sided shower enclosure with the following wall widths:
- Wall One (Left): 900mm wide
- Wall Two (Back): 1200mm wide
- Wall Three (Right): 900mm wide
To find the total number of panels required, follow these simple steps:
- Find the total width: Add the widths of the walls together:
900mm + 1200mm + 900mm = 3000mm
- Divide by the panel width: Divide that total width by the width of a single Pro-Tek panel (600mm):
3000mm ÷ 600mm = 5 panels
Because the ceiling height in this example bathroom is a standard 2400mm, the 2800mm length of the boards is more than enough. You will simply trim 400mm off the top of each piece. In this scenario, exactly 5 panels are needed to complete the run.
Should You Allow for Installation Wastage?
Yes, you should always add a small safety margin to your final calculation. While a straight wall with no obstacles can be calculated exactly, most real-world rooms feature tricky corners, pipework, and window recesses.
We recommend adding a wastage allowance of 5% to 10% depending on the complexity of your room layout. You are likely to experience material loss when:
- Cutting around fixtures: Trimming panels to fit neatly around window sills, door frames, and boxed-in pipework.
- Fitting out-of-square walls: Scribing boards to fit into internal corners that are not perfectly straight or plumb.
- Drilling access holes: Cutting out openings for shower valves, plumbing pipes, and electrical sockets.
- Matching patterns: Working with designs where the veins or patterns need to line up across corners and joints.
For standard rectangular rooms, rounding your total panel count up to the next whole number usually provides enough of a buffer. For complex layouts with multiple corners and obstacles, purchasing one extra board gives you peace of mind in case of a cutting error.
Why Accurate Calculations Save You Money
Failing to plan your material requirements properly can quickly increase the cost of your room renovation. By using a simple calculation method before you order, you protect both your budget and your project timeline.
Accurate planning helps you avoid:
- Wasting money on excess materials: Buying surplus boards that will simply sit unused in your garage or end up being thrown in a skip.
- Expensive project delays: Having to halt work and pay builders or installers to wait around while a single extra panel is ordered and delivered.
- Extra delivery charges: Paying shipping costs multiple times for small, separate orders.
- Mismatched colours: Manufacturers produce wall panels in runs that can vary slightly in shade over time. Ordering all your panels together in one go ensures a consistent colour match across your entire room.
Are Pro-Tek Panels Suitable for DIY Installation?
Yes, absolutely. One of the main reasons homeowners choose modern wall cladding over traditional ceramic tiles is how quick and easy it is to fit.
Instead of dealing with heavy bags of powder adhesive, tile spacers, wet saws, and hours of messy grouting, Pro-Tek panels are lightweight, clean, and fast to install. You can easily cut them to size using standard woodworking tools, such as a fine-tooth handsaw or a jigsaw, and fix them directly to the wall using a high-strength grab adhesive.
DIY renovators like this system because it is straightforward to work with. The large boards quickly cover up old tiling or damaged plaster, giving you a smooth, clean, and 100% waterproof finish in a fraction of the time it takes to tile a room
Where Can Pro-Tek Wall Panels Be Installed?
Thanks to their strong and durable construction, these wall panels are very versatile. They are widely used in both homes and commercial buildings, including:
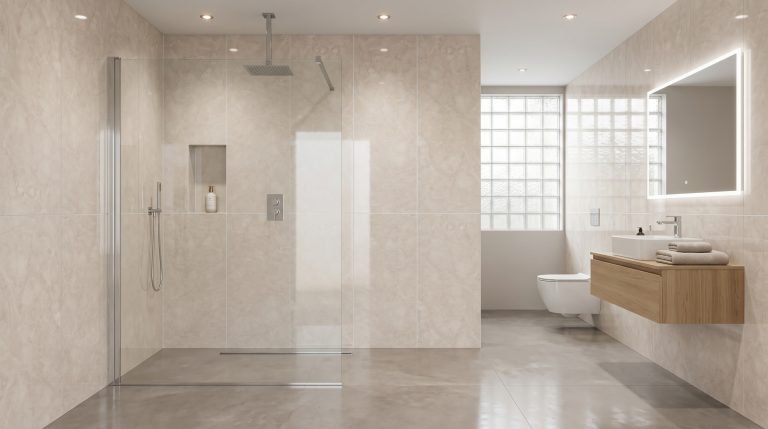
- Bathrooms and En-Suites: Ideal for creating a clean, easy-to-maintain finish around baths and sinks without the need for grout.
- Shower Enclosures and Wet Rooms: They provide a reliable waterproof barrier against moisture when sealed correctly.
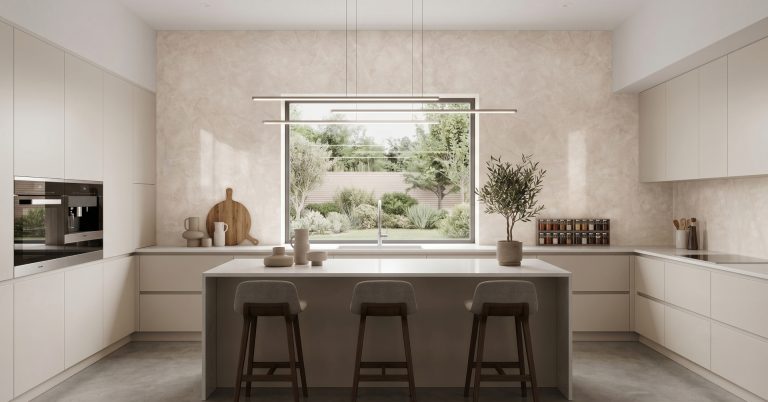
- Kitchens and Utility Rooms: A practical, wipe-clean surface that protects your walls from food splashes, cooking grease, and mud.
- Commercial Spaces: Excellent for busy areas such as hotel bathrooms, gym changing rooms, salon walls, and healthcare settings where hygiene is important.
How the Calculator Helps Professional Installers
For tradespeople, time is money. Providing accurate quotes to clients requires a clear understanding of your material costs.
Using a simple calculation method allows professionals to:
- Generate Quotes Quickly: Price jobs accurately without overestimating costs or cutting into your own profit margins.
- Save Van Space: Only carry the exact boards and finishing trims required for the job.
- Keep Schedules on Track: Avoid having to stop work to source missing materials or wait for extra deliveries.
- Work More Efficiently: Deliver a faster and cleaner installation that keeps your clients happy.
Taking a few minutes to double-check your measurements before you order ensures a smoother and more reliable job from start to finish.
Frequently Asked Questions
1. What is the Pro-Tek Wall Panel Calculator guide?
It is a practical method designed to help you work out the exact number of Pro-Tek wall panels you need to buy based on your room measurements.
2. What size are Pro-Tek wall panels?
Each individual panel is 600mm wide by 2800mm long, giving you large surface coverage from a single sheet.
3. Are Pro-Tek panels the tallest wall panels available in the UK?
Yes. At 2800mm in height, they are currently the tallest standard wall panels on the UK market. This makes them ideal for covering walls from floor to ceiling without needing horizontal joints.
4. Why is a taller wall panel better for installation?
Taller panels remove the need for horizontal joins in most UK homes. This gives you a smoother finish, faster installation times, and a reliable waterproof surface without seams across the middle of your wall.
5. How do I calculate the number of panels I need?
Measure the total horizontal width of the walls you want to cover in millimetres, divide that number by 600mm (the panel width), and then round up to the nearest whole number.
6. Should I order extra panels to account for waste?
Yes. We recommend adding a 5% to 10% wastage allowance, or adding at least one extra full panel to your order, to cover any cuts around doors, windows, and pipework.
7. What tools do I need to cut Pro-Tek wall panels?
You can cut them easily using standard woodworking tools, such as a fine-toothed handsaw, a circular saw with a fine blade, or a jigsaw.
8. Are these wall panels completely waterproof?
Yes. When fitted correctly with our recommended grab adhesives, silicone sealants, and finishing trims, they create a 100% waterproof barrier that is ideal for showers and wet rooms.
9. Can I install Pro-Tek panels over existing tiles?
Yes. As long as your existing tiles are clean, flat, and firmly fixed to the wall, you can glue Pro-Tek panels directly over them to save time and avoid messy demolition work.
10. How do I finish the edges and corners of the panels?
We supply a range of matching finishing trims, including internal corners, external corners, and end caps, to give your edges a neat, professional, and watertight seal.